Golden Hour Without Guesswork: A Practical Field Guide
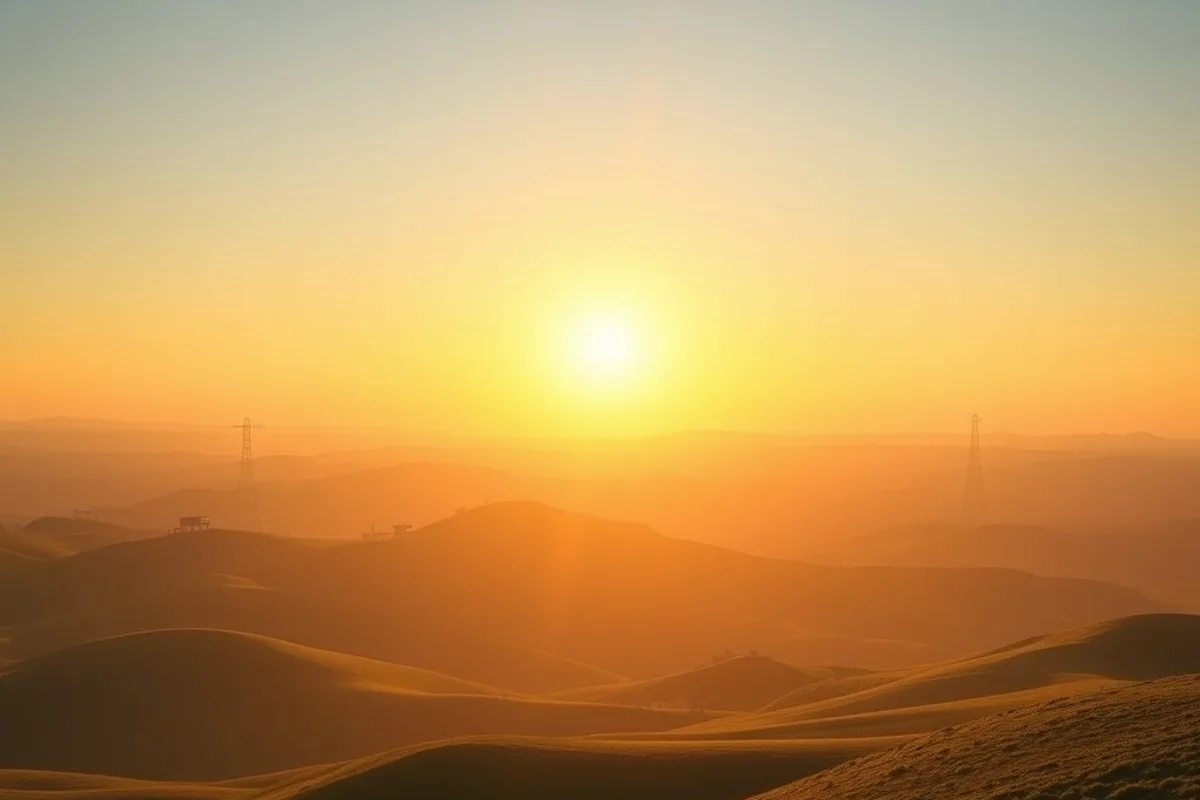
Golden hour is the most recommended and least understood window in photography. It is not a filter that fixes a weak scene, and it does not last an hour everywhere. This guide explains how to plan the light, expose for it and come home with files that still look good on a large screen.
What golden hour really is
Golden hour describes the period shortly after sunrise and before sunset when sunlight travels through more atmosphere. The light is softer, warmer and lower, which flatters skin and reveals texture in landscapes. The exact window depends on latitude, season and weather, ranging from twenty minutes near the equator to well over an hour in northern summers.
The warm colour is only part of the benefit. Low light also creates longer shadows, which give shape to flat ground and separate subjects from backgrounds. A portrait taken at noon can look like a passport photo; the same person at the same spot in the evening can look like a story. Direction matters as much as colour.
Plan the window before you leave
Use a sun-position app to check where the sun will be at your chosen time, then scout the location in daylight. You want to know which side of a building will glow, where shadows will fall and whether a hill will block the last light. Five minutes of planning saves an hour of running.
Arrive early, not on time. The best light often appears before the peak colour, when the sun is still slightly above the horizon and the contrast is manageable. Stay a little after sunset too. The blue hour that follows can be more useful than the golden minutes, especially in cities where windows begin to glow.
Related reading: composition habits that improve ordinary scenes pairs well with Composition Habits That Make Ordinary Scenes Look Intentional.
Expose for the highlights
The classic mistake is exposing for the shadows and letting the sky clip. Digital sensors recover shadow detail far better than blown highlights, so protect the brightest important area and lift the rest in editing. If the sky is the subject, bracket your exposures and blend later rather than gambling on one frame.
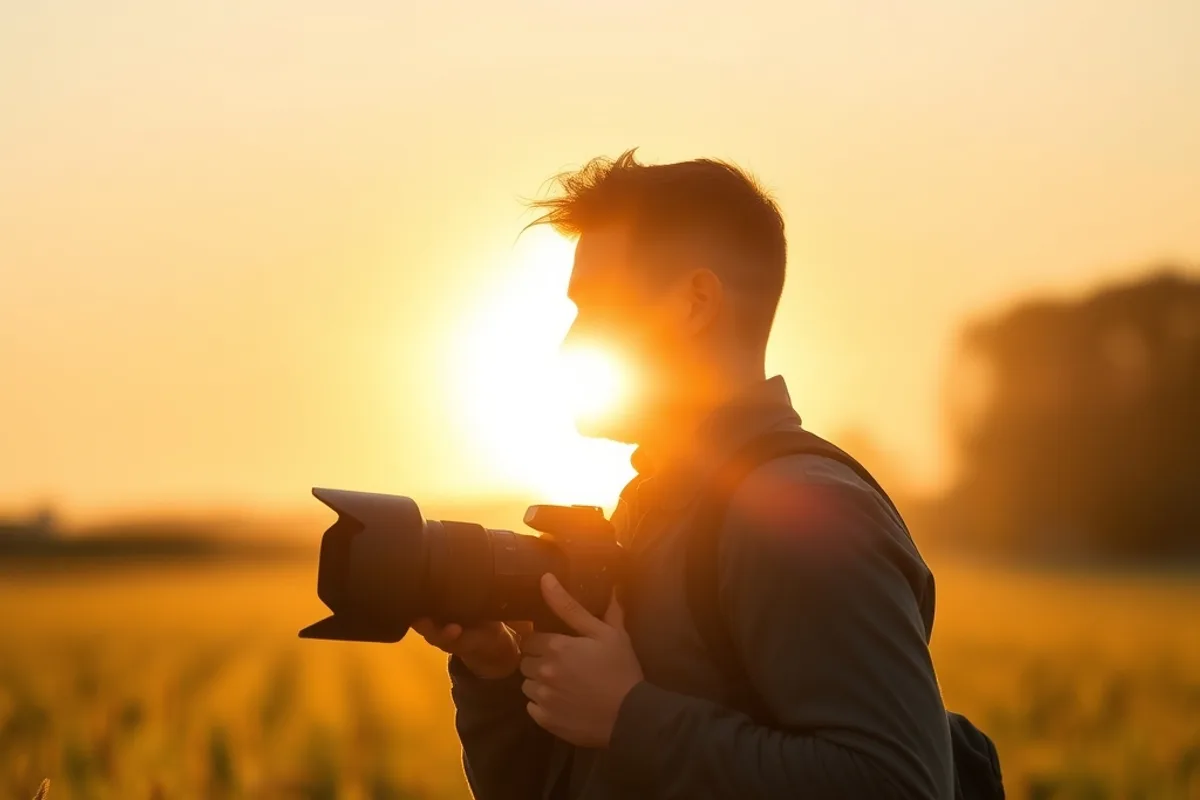
For portraits, meter for the lit side of the face and let the background fall where it may. A reflector or a white wall can bounce a little light back without flattening the scene. If you want the sun in frame, position it behind the subject and watch for lens flare; a slight shift in angle often cleans it up.
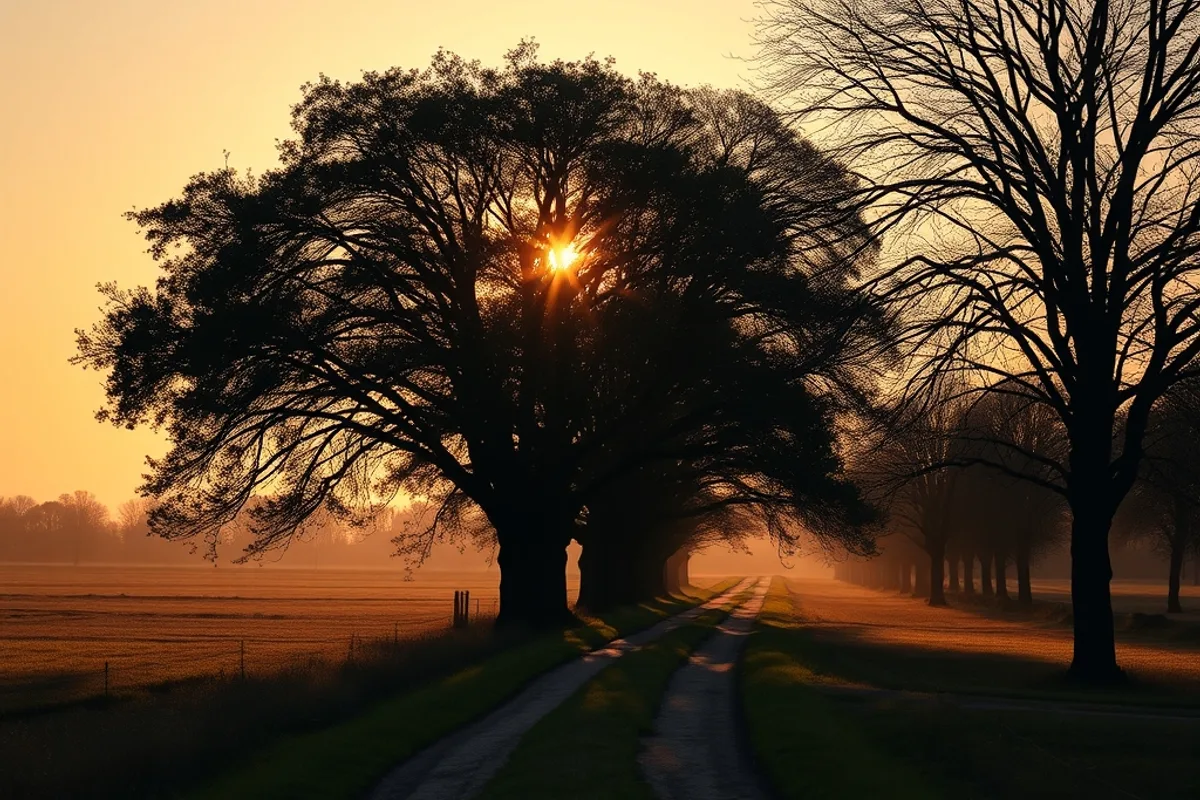
Protect the brightest important area and lift the rest. Digital shadows forgive; highlights do not.
Choose the right lens and aperture
Backlight loves longer focal lengths. A 50mm to 85mm lens compresses the background, makes the sun appear larger and keeps flare manageable. Wider lenses are better for landscapes where you want the foreground and sky together, but they also pull in more stray light, so use a hood and shade the front element with your hand.
Aperture is a creative decision, not a default. Wide open gives separation but can soften detail and introduce purple fringing against bright edges. Stopping down one or two stops usually sharpens the image and tames flare. For landscapes, f8 to f11 is often the sweet spot before diffraction softens fine texture.
Also see our guide to how to shoot live music in difficult light for a deeper comparison.
White balance and colour
Auto white balance will try to neutralise the warmth you came for. Shoot raw and set a daylight or cloudy preset, then adjust in editing. A slightly warm file usually needs less work than a neutral file pushed warm later, because the colour relationships stay intact and skin tones remain believable.
Resist the urge to saturate everything. Golden hour already adds orange and red, and pushing further turns skin plastic and grass yellow. Instead, lift the shadows gently, reduce highlight brightness and add a little contrast in the midtones. The goal is light that feels present, not a preset that announces itself.
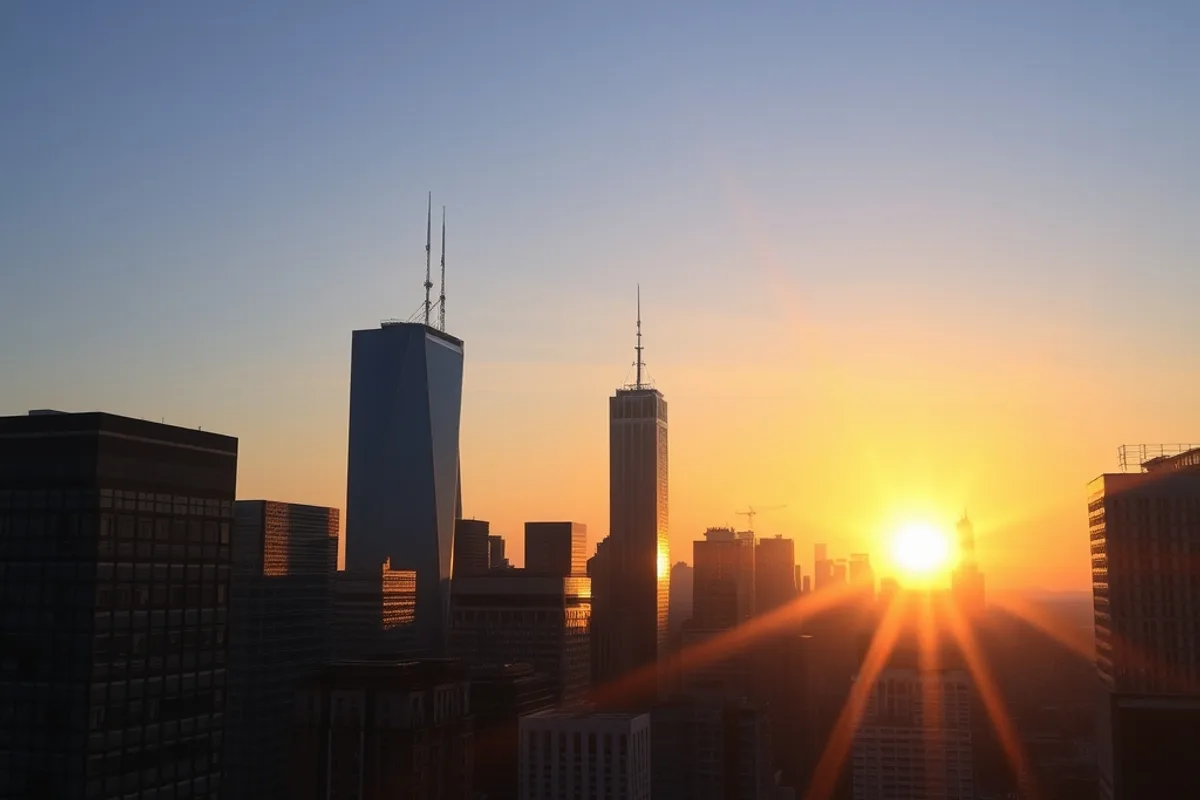
Background: how the angle of sunlight changes colour.
Composition in low light
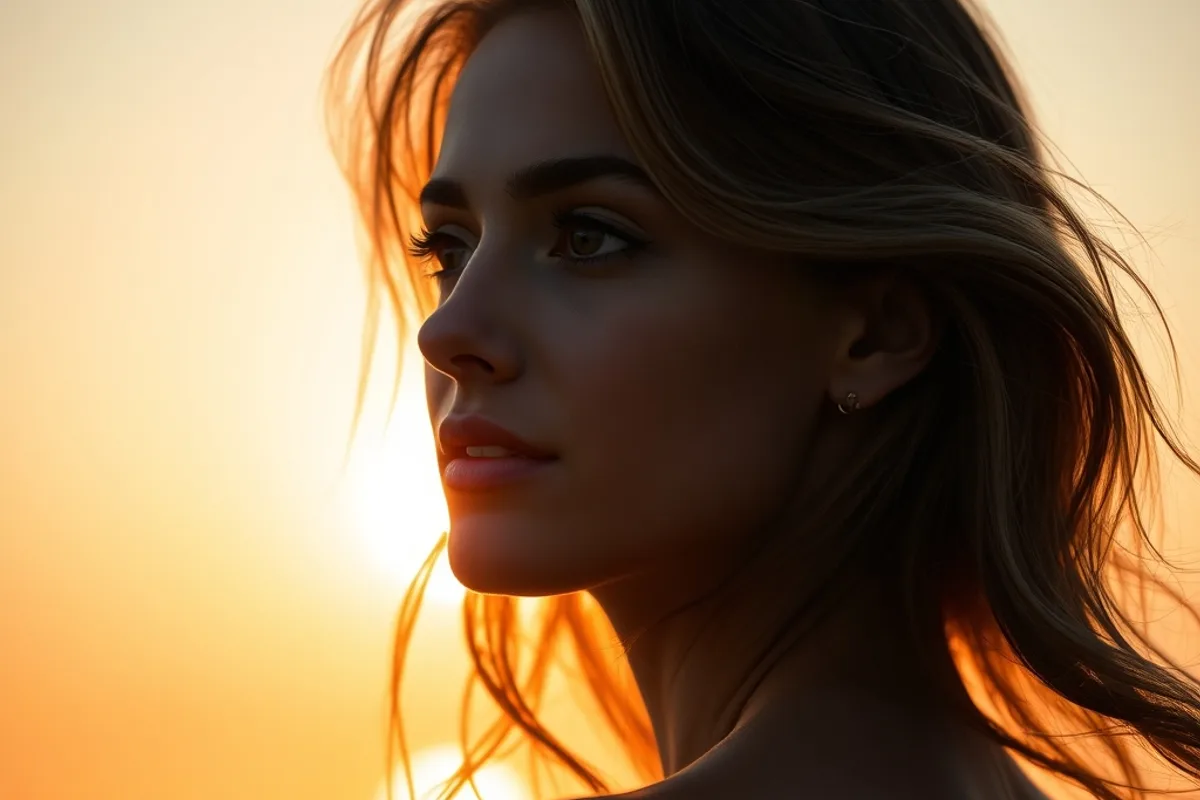
Long shadows are compositional lines. Use them to lead toward your subject or to fill an empty foreground. Look for rim light on hair, fabric or leaves, because a bright edge separates a subject from a dark background more elegantly than any artificial effect. Shoot into the light and expose for the edge.
Silhouettes are another reliable tool, but they need a clean shape. A subject with a recognisable outline against a bright sky works; a cluttered one becomes a dark blob. If the shape is unclear, move until the subject is isolated, or turn slightly so the light wraps around one side instead of behind.
A simple field routine
On arrival, set raw, daylight white balance and a base ISO. Take one test frame, check the histogram, then adjust exposure compensation rather than chasing settings. Shoot a wide establishing frame, a medium frame with a clear subject and a close detail. That sequence gives you options when you edit.
Before you leave, review at 100 percent for focus and flare. It is easier to fix a soft frame on location than to discover it at home. Then back up the card the same evening. Golden hour rewards preparation, but the habit that matters most is knowing when to stop shooting and simply watch the light change.
- Golden hour length varies from about 20 minutes near the equator to over an hour in northern summers.
- Low sun creates longer shadows, which add shape as much as warm colour.
- Expose for highlights and recover shadows; clipped highlights cannot be restored.
- 85mm compresses background and controls flare better than a wide lens for backlit portraits.
- Review at 100 percent on location for focus, flare and motion blur before leaving.

Composition Habits That Make Ordinary Scenes Look Intentional