You see it. You like it. You want it. You make it. This is how it goes for the Do It Yourself (DIY) art teacher. Are you not sure if you qualify? If you have ever thought, “I could make that!” and then you do—congratulations! You are a DIY art teacher! But let’s be honest. Every art teacher is a little bit of a DIY art teacher, whether you consider yourself one or not.
As an art teacher, you have the perfect blend of creativity, ingenuity, and problem-solving for DIY projects. Often the hardest part is picking out what you want to do. Never fear! Whether you are a full-blown DIY art teacher or just starting to consider yourself one, this list has a DIY project for you to tackle this winter break.
Get excited with these classroom DIYs for all experience levels.
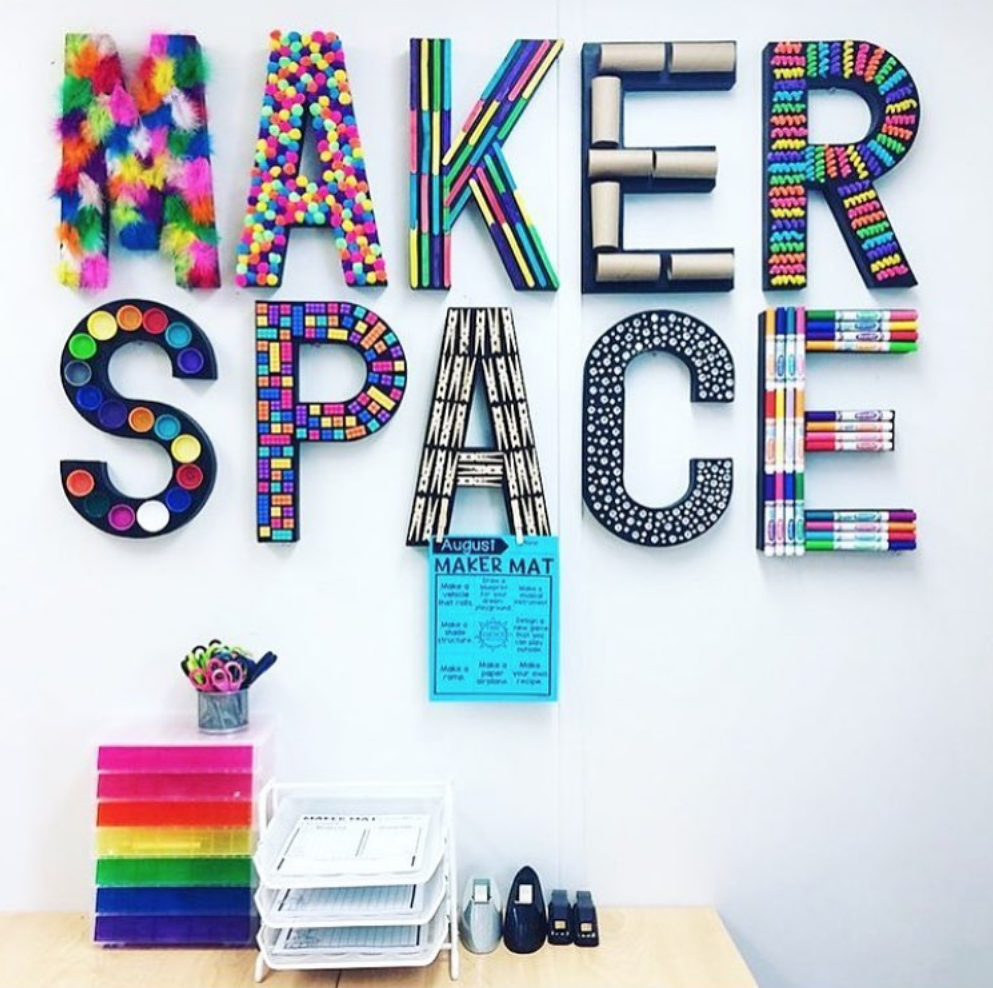
If you are short on time or want to keep it simple in your DIY world, try a beginner project.
1. Collage Lettering
Buy cardboard letters from your local craft store or cut some out of boxes. Cover your letters with a variety of collage materials and found objects. Try feathers, pompoms, clothespins, straws, marker caps, popsicle sticks, aluminum foil, or beads. Use anything you have on hand. Hang your word art for all to see!
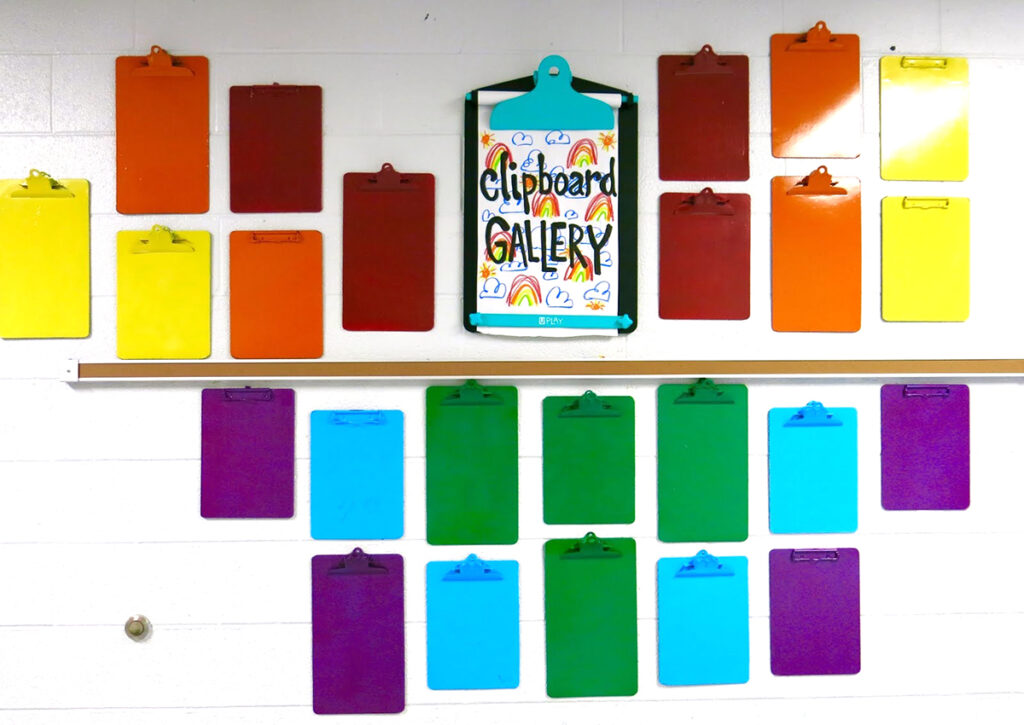
2. Clipboard Gallery
Purchase clipboards from your local dollar store to create a rotating gallery wall. Decorate the clipboards as you see fit and hang them on the wall with adhesive strips or hot glue. Now, volunteers and students can hang their work without worrying about matting or whether it’s straight or crooked.
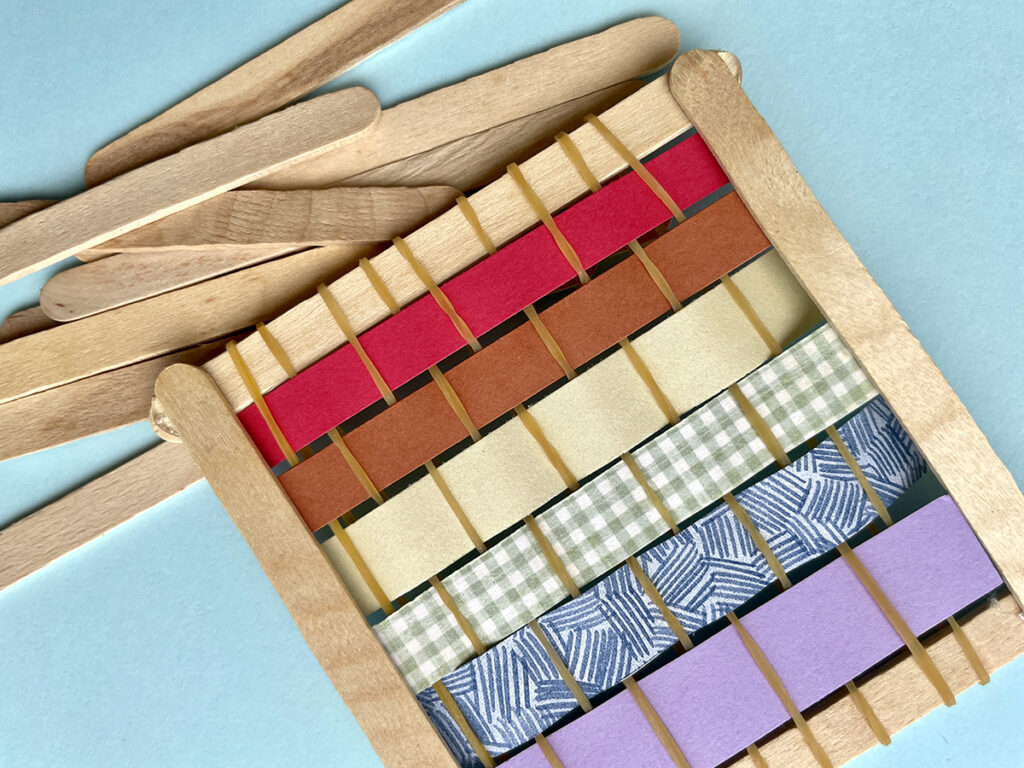
3. Popsicle Stick Looms
Model your DIY loom after this one from AOEU’s Instagram. Make a picture frame by gluing four popsicle sticks into a square. Once dry, add rubber bands for the warp threads. Weave yarn or pieces of paper through the loom for a beautiful design. Send the loom and weaving home with your students because you can easily make more.
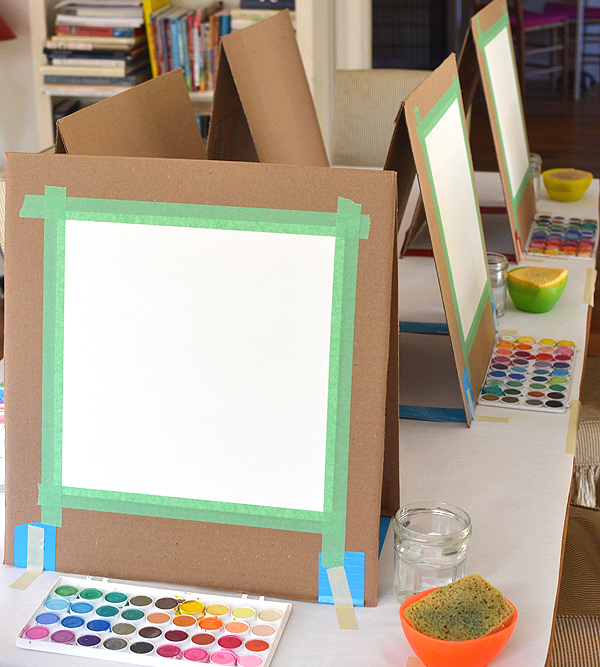
4. Cardboard Easels
Break down some cardboard boxes and cut them to size. Fold a large piece of cardboard in half or tape two pieces together to create a hinged section. Attach a long, folded piece of tape to each half of the cardboard with a velcro square. To draw or paint, stick the paper to your easel with tape. You can also make a mini version to display completed artwork!
If you have more time and some experience with DIY, give an intermediate project a shot.
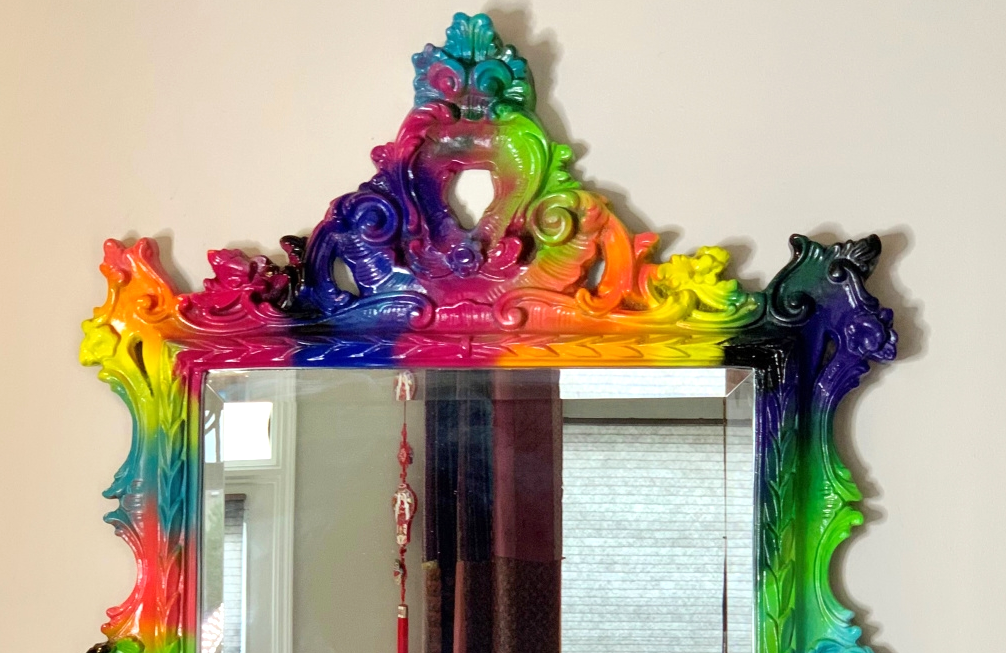
5. Colorful Rainbow Mirror
Fun, funky mirrors are on trend in the home decor DIY sector right now. They also work perfectly to brighten up your classroom. Pick up an old-fashioned mirror at your local thrift store. Give it a facelift by covering the mirror and spray painting the frame in a multitude of colors. Post affirmations around it for an exciting affirmation station!
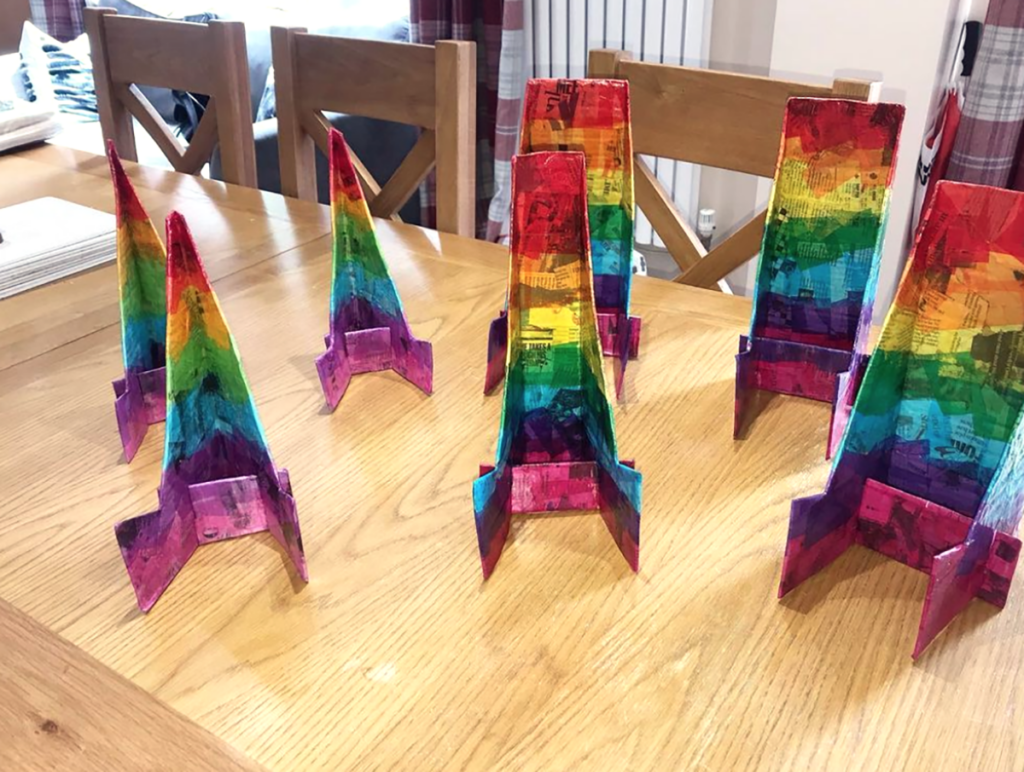
6. 3D Artwork Stands
Fold a piece of cardboard and trace this shape onto it. Make sure to align the template with the folded side so that you end up with two shapes that connect. Cut an additional strip of cardboard for support. Notch it by cutting halfway through on each end. Add a similar notch to the base “legs” of the large piece of cardboard. Slide the notches of the support strip into the notches of the larger piece. Prop the three-dimensional work up and display it proudly!
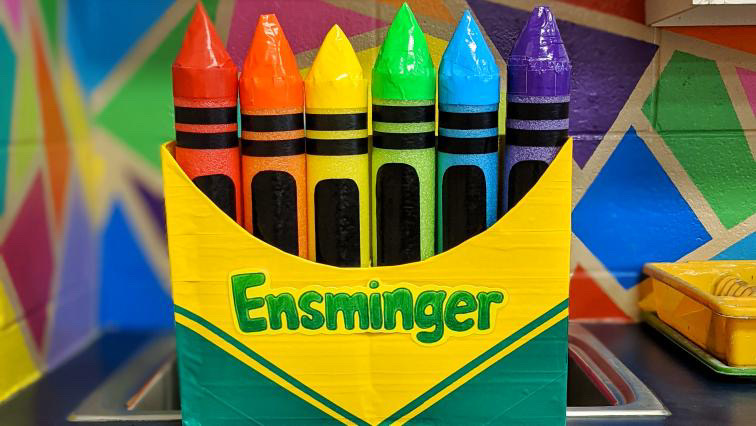
7. Pool Noodle Crayons
Follow along with this Make Art With Me on AOEU’s IG Live to turn pool noodles into charming crayon decor. Cut your noodle to size and trim one side to make a pointed tip. Wrap the tip and opposite end in colored tape. Finish off the crayon with black tape details. Hang your creations with monofilament, or cut some cereal boxes in half for a crayon box!
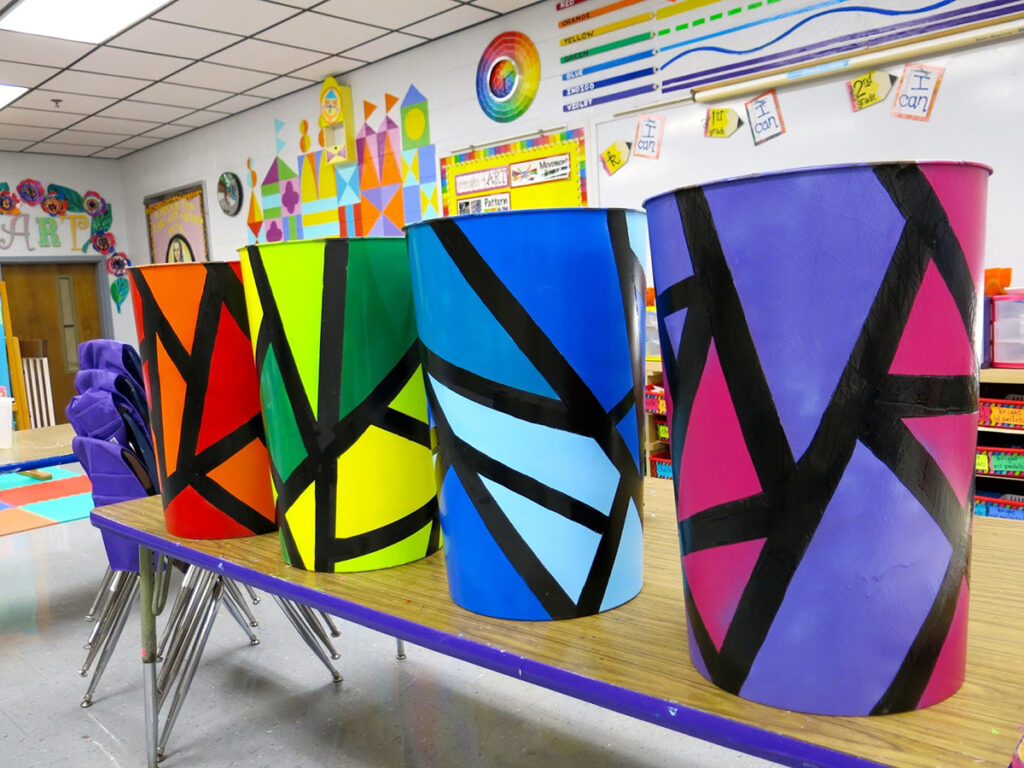
8. Painted Trash Cans
Everything in your classroom is fair game for a makeover if you are an art teacher. This includes your trash cans! Spruce up those crusty old bins with tape resist spray paint art. Section off triangles on your can with tape. Add two layers of spray paint, or paint in different colors to each triangle. Match the colors to color families, table colors, or the rainbow. Take off the tape and admire your handiwork!
If you are a DIY expert and feeling ambitious, challenge yourself with an advanced project.
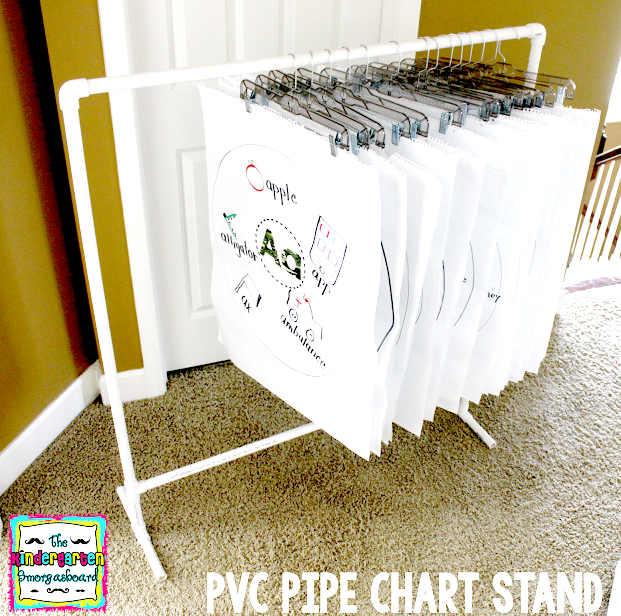
9. PVC Storage Rack
Are you running low on storage space or looking for a convenient place to keep your sample projects? Construct a storage rack from PVC pipes to fix your problem. Build a square frame and stand following these instructions. Use pant hangers to clip and organize artwork. Customize your stand by adding a pop of color or line designs.
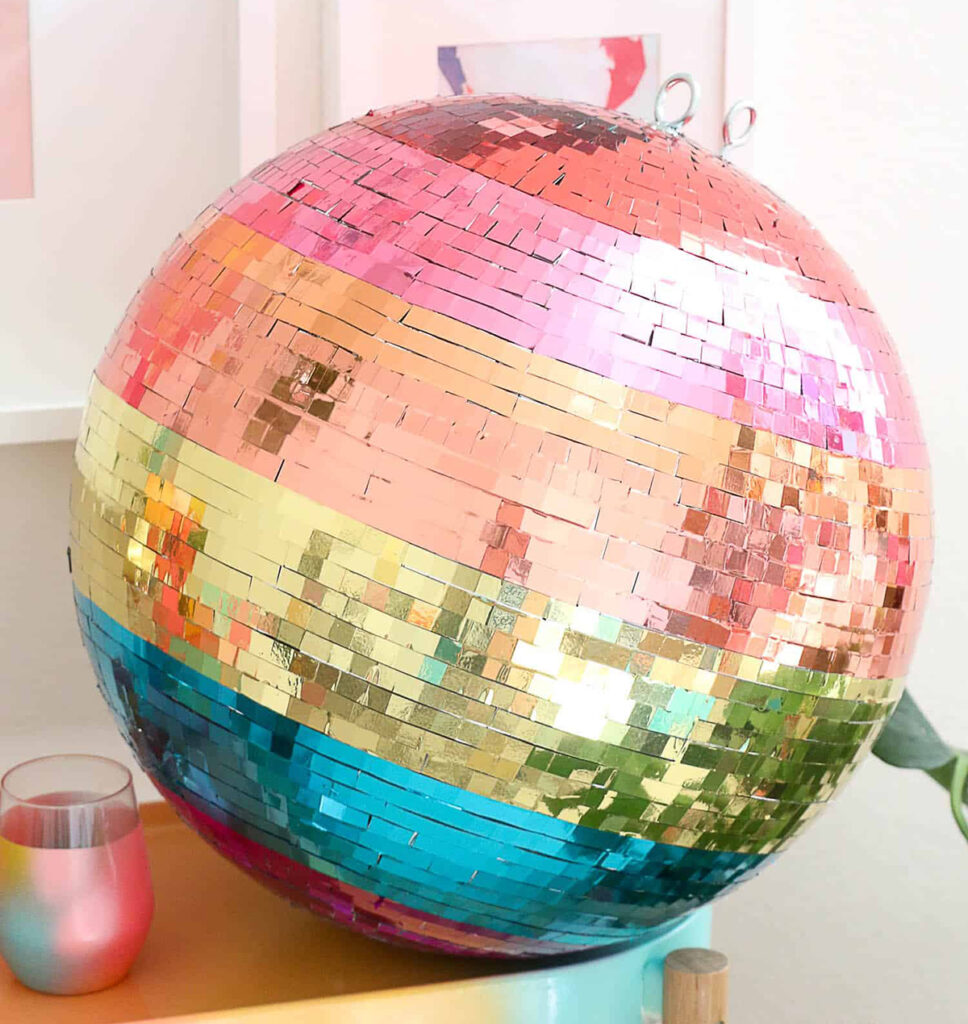
10. Rainbow Disco Ball
It’s no wonder these mesmerizing 80s staples are all the rage in home decor! To transform a regular disco ball into a rainbow masterpiece perfect for your art room, grab a disco ball and some adhesive metallic vinyl. You can get this online or from your local craft store. Cut the vinyl into squares and stick it on the disco ball in blocks or patterns. This project will be well worth your time when you see the awe and wonder it brings your students!
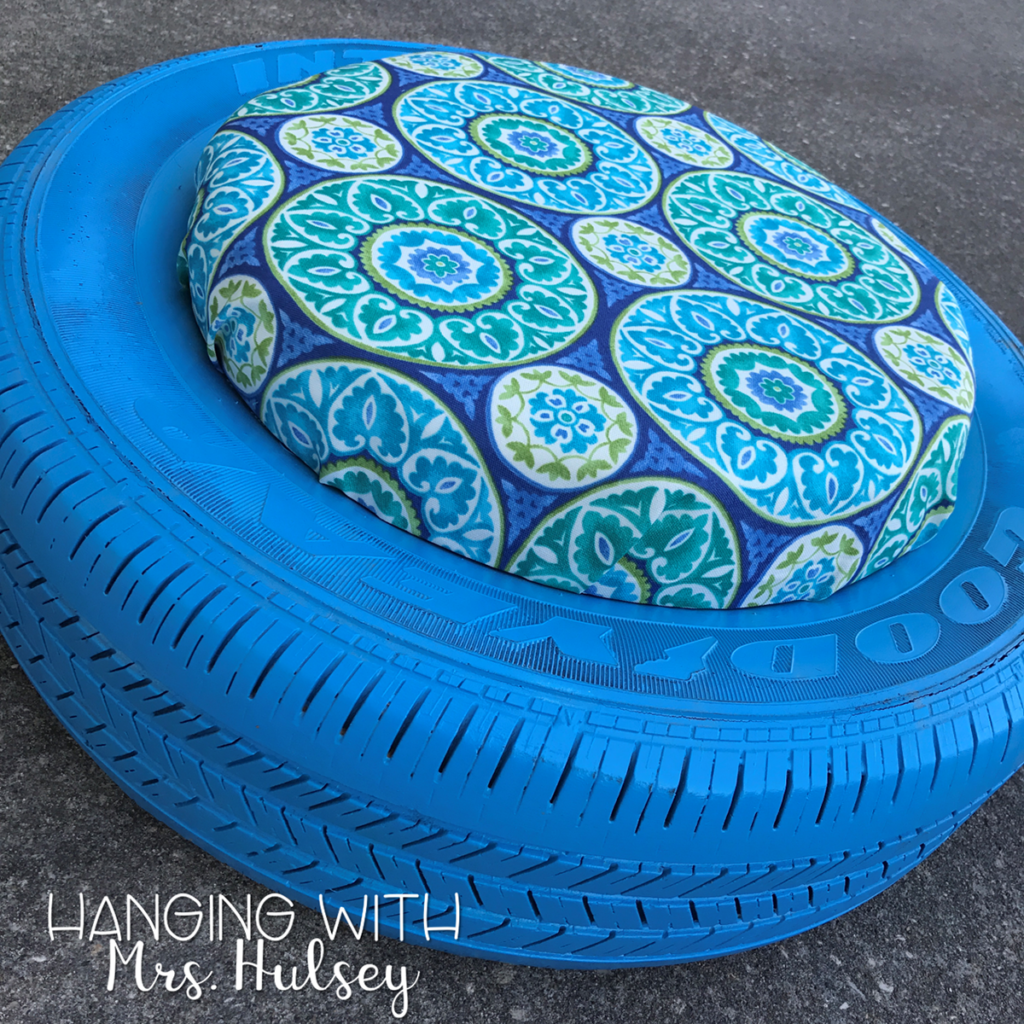
11. Tire Seating
Offer a variety of seating options to make your classroom more functional, flexible, and inviting. Instead of buying new chairs, make some! Visit a junkyard or auto shop and get tires. Wash the tires thoroughly, and coat them with a white base. Then, spray paint with a solid color or add designs with paint. Finally, fashion round cushions with wood, foam, and fabric. Stick these seats in a book nook to make a cozy reading space.
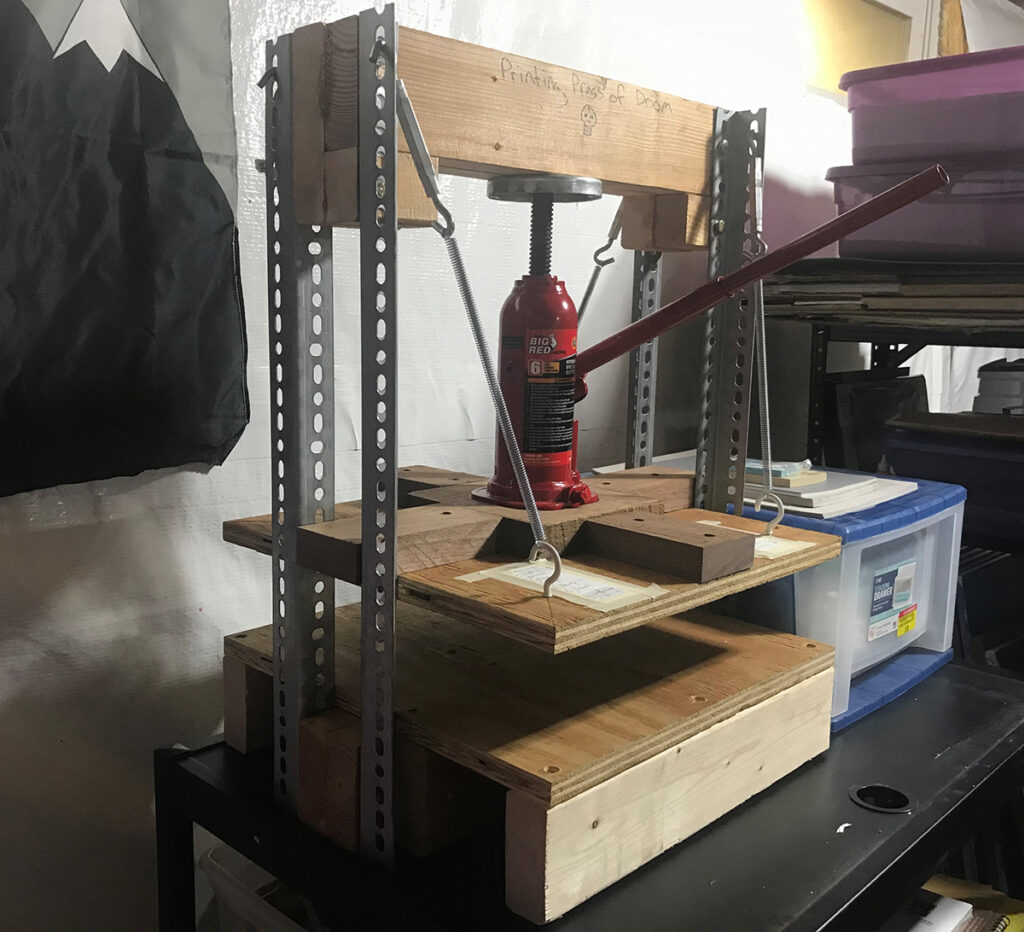
12. Affordable Printing Press
This bottle jack press project is not for the faint of heart! You will need to purchase a six-ton automotive bottle jack, slotted steel, wood, and an assortment of hardware. Once you have the materials, follow these detailed instructions to bring your press to life. While a bit higher in complexity, building your own press will save your budget hundreds of dollars.
We hope this roundup of fun projects motivates you to tackle a DIY no matter your ability level, comfort level, and budget. Get yourself to your local dollar store, thrift store, or hardware store to get what you need. Then, get your hands dirty to make your classroom more aesthetically pleasing, colorful, functional, or a combination of them all. We just want to warn you… Once you get started with a good DIY, you won’t want to stop!
Which one of these projects will you try?
Tell us about your favorite art room DIY!
Do you have any DIY tips or tricks to share?


More Stories
The Ten SolarScape Artworks | The Unfathomable Artist
Industrial Materials Reconstruct Local History on a Monumental Scale in Public Sculptures by David Mach — Colossal
Marria Pratts: Melted with U